
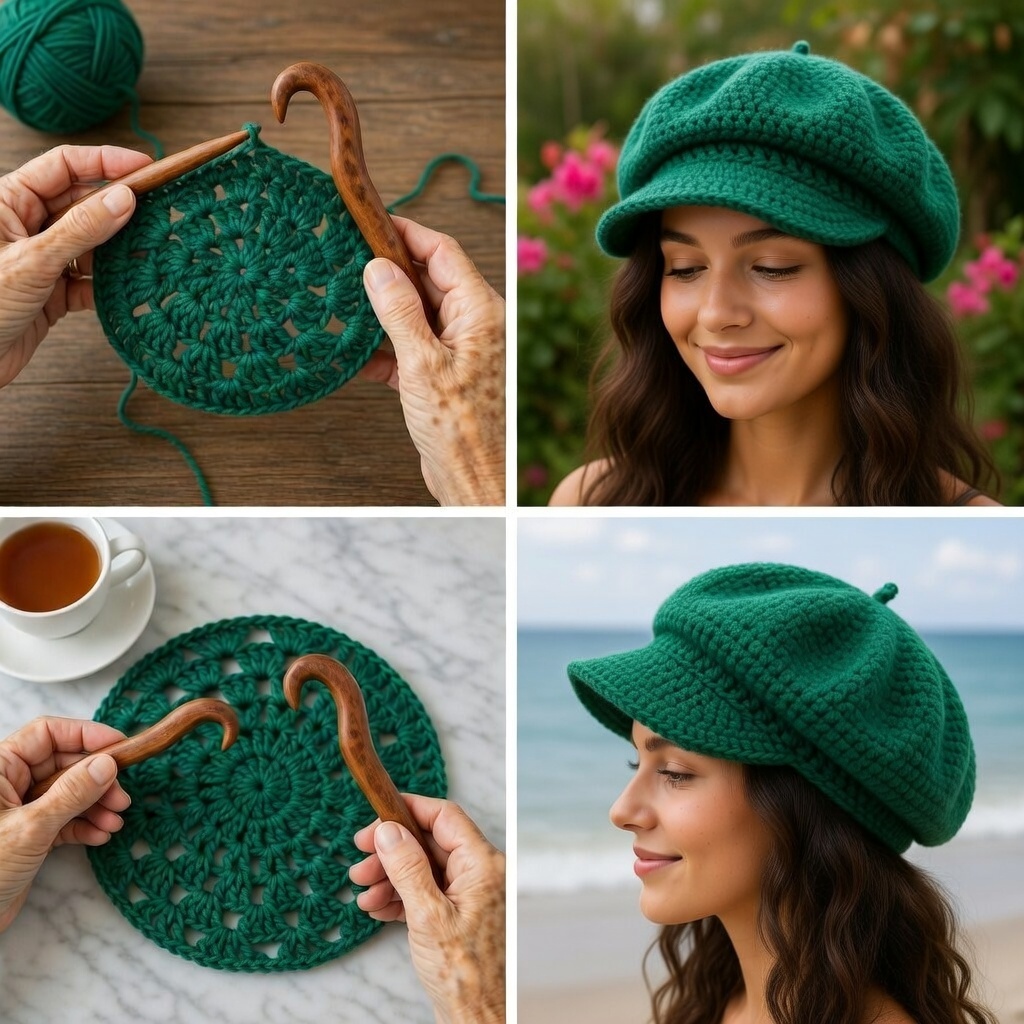
Overview & Inspiration
The Crocheted Beret Tutorial is a stylish, timeless project that lets you craft a fashionable handmade accessory. This versatile hat complements any wardrobe while helping you explore wonderful textures and shaping techniques.
Whether you prefer soft neutrals or vibrant colors, this beginner-friendly tutorial guides you step by step through creating a gorgeous, custom-fit beret.
Materials & Tools Checklist
- Yarn: Soft acrylic or wool for warmth, or cotton for a lighter option.
- Crochet hook: Between 4 mm and 6 mm (matching your chosen yarn weight).
- Scissors and yarn needle for weaving ends and assembly.
- Stitch markers to track continuous rounds.
- Measuring tape to verify proper head sizing.
Pattern Stitches & Abbreviations
- Magic Ring: Adjustable starting loop.
- SC: Single Crochet.
- DC: Double Crochet.
- Rnd: Round.
Step-by-Step Instructions
- Creating the Crown: Begin with a magic ring to form a tight, adjustable center. Work in continuous rounds, gradually increasing stitches to form a flat, smooth circle. Continue increasing until the crown reaches the desired diameter, determining your beret’s slouchiness.
- Shaping the Body: Work several rounds without increasing to build depth and volume. Feel free to use double crochet, puff stitch, or shell stitch to add unique texture. Check the fit as you go to ensure it drapes naturally.
- Finishing the Band: Gradually decrease stitches to fit your head circumference. Use tighter stitches like single crochet or ribbed stitches for a snug, secure band that keeps the beret in place.
Assembly & Finishing
Fasten off your yarn and weave in all loose ends securely. Add decorative elements like a pom-pom, buttons, or embroidery, and lightly block the beret if needed to enhance its final shape.
Pro Tips for Best Results
- Maintain even tension throughout the crown-making process to keep your flat circle smooth and balanced.
- Frequently check the fit along the body and band to ensure it sits comfortably without being too tight or loose.
- Block your finished beret to give it a polished, professional look.