
Overview & Inspiration
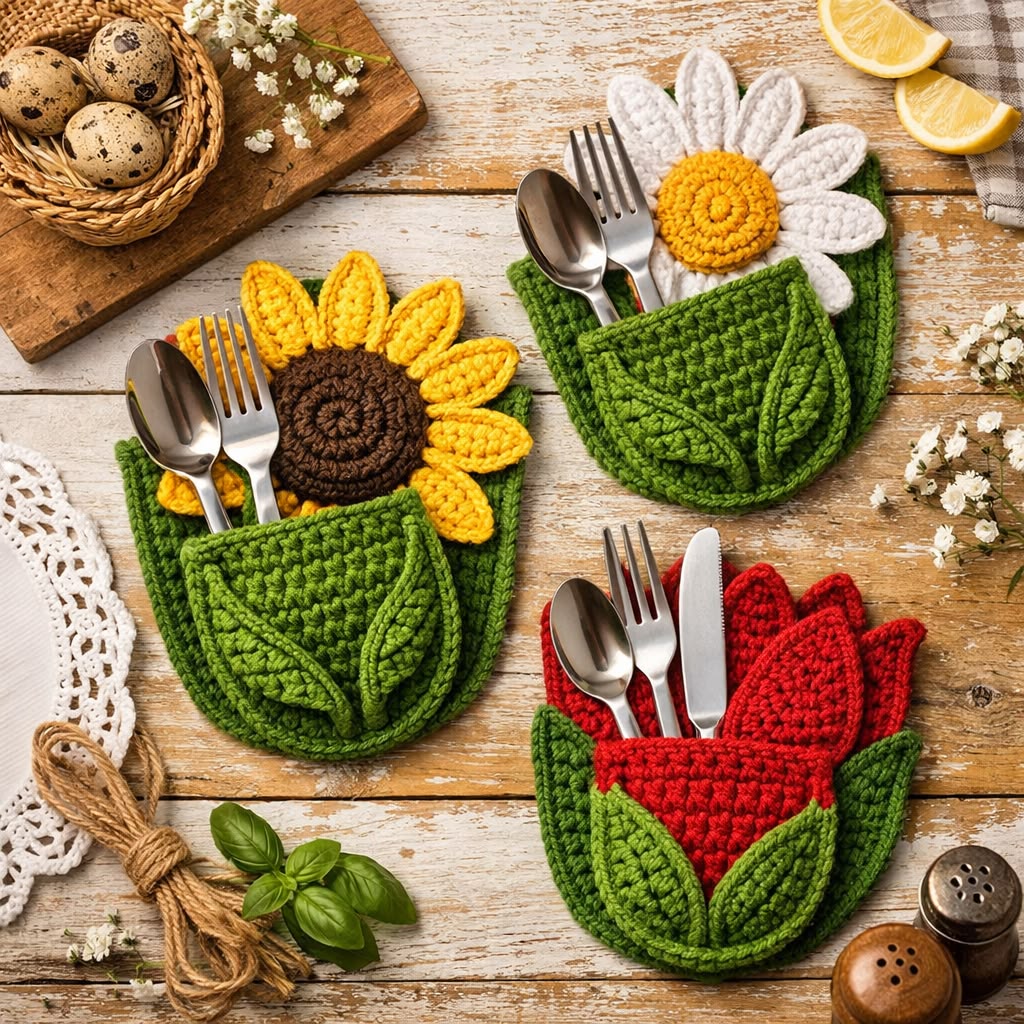
The Crochet Cutlery Holder with Flower Tutorial Pattern is a charming way to combine table organization with handmade decor. This project transforms ordinary place settings into creative pockets for forks, spoons, knives, or napkins.
It is ideal for spring lunches, Easter, summer garden parties, and weddings. Using basic techniques and cotton yarn, you can easily customize flowers like sunflowers, daisies, or tulips to match your seasonal theme.
Materials & Tools Checklist
- Medium-weight cotton yarn in green and at least two flower colors (e.g., yellow and brown for a sunflower).
- Crochet hook matching your yarn size, typically 3.5 mm to 4.5 mm.
- Yarn needle for weaving ends and sewing.
- Scissors and a measuring tape.
- Stitch markers to keep track of rows.
Pattern Stitches & Abbreviations
- CH: Chain
- SL ST: Slip stitch
- SC: Single crochet
- HDC: Half double crochet
- DC: Double crochet
- TR: Treble crochet
- ST / STS: Stitch / Stitches
- SP: Space
- SK: Skip
- REP: Repeat
- YO: Yarn over
- FO: Fasten off
Step-by-Step Instructions
- Gauge & Sizing: Gauge is approx 16 SC and 18 rows in a 4-inch square for a stable fabric measuring roughly 6×7 inches wide by 6 inches tall.
- Back Panel: With green yarn, CH 27. Starting in the 2nd CH from hook, work 1 SC in each CH across (26 STS). CH 1, turn. Work 1 SC in every ST for approx 22 rows.
- Shape the Base: On the next row, CH 1, SC decrease over the first 2 STS, crochet across until 2 STS remain, and make a final SC decrease (24 STS). Repeat this decrease row 2 more times until you have 20 STS.
- Front Pocket: Make a second green panel using the same foundation chain, but crochet only 12 to 14 straight rows. Shape the upper edge with a shallow center dip if desired.
- Assemble the Pocket: Place the shorter panel over the lower portion of the larger back panel, ensuring bottom and side edges align. Join the sides and bottom using SC through both layers, leaving the top open.
- Make the Flower Center: Using brown yarn, make a magic ring, work 6 SC into the ring, and pull closed. In Round 2, work 2 SC in each ST (12 STS). In Round 3, rep [1 SC, 2 SC in next ST] around (18 STS) until the center measures 2½ to 3 inches.
Assembly & Finishing
Attach your completed flower and green leaves to the upper front of the pocket securely. Add a decorative upper border to the pocket opening using a simple wave pattern or reverse single crochet, then weave in all loose yarn ends.
Pro Tips for Best Results
- Choose firm cotton yarn so the pocket easily supports the weight of metal cutlery without stretching.
- Test your pocket dimensions by placing actual cutlery inside the unfinished panel before final assembly.
- Sew a line of small running stitches along the bottom seam with your yarn needle if you need extra structural reinforcement.
Crochet Cutlery Holder with Flower Tutorial Pattern – Printable PDF Pattern
Download the clean, printer-friendly PDF to work on your project anywhere offline.