
Overview & Inspiration
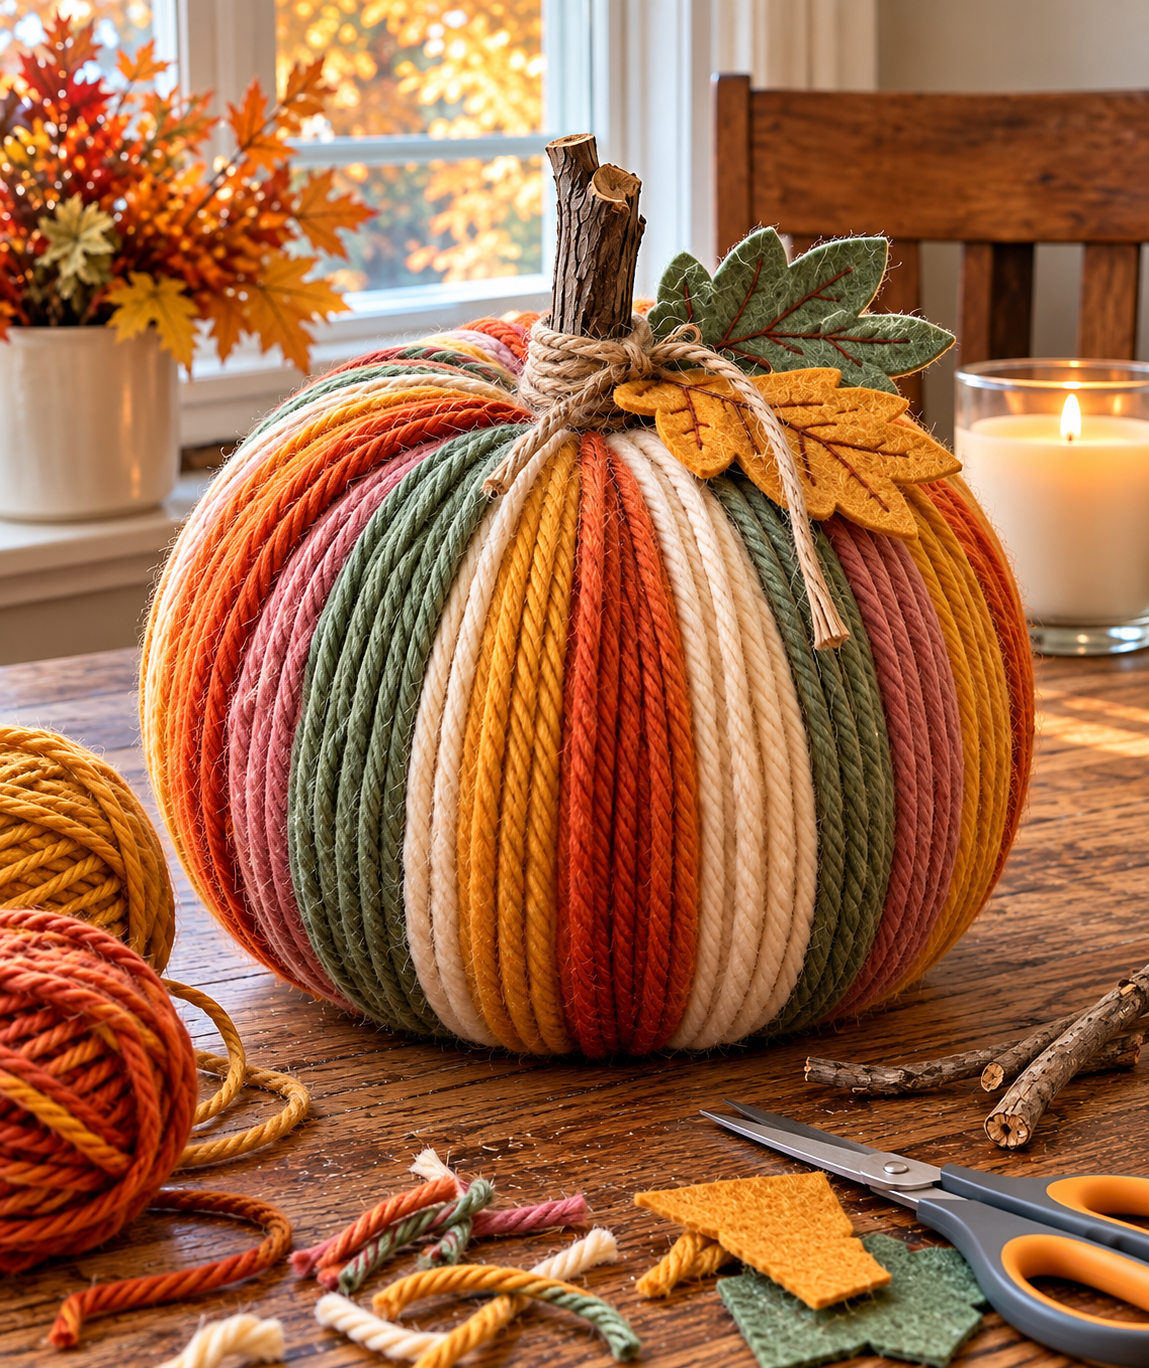
Bring the cozy warmth of autumn into your home with the Crochet Style Yarn Pumpkin Autumn Decoration Pattern! This charming project uses thick yarn strands and simple techniques to mimic the classic ridges of a traditional fall pumpkin.
Featuring a gorgeous palette of burnt orange, mustard yellow, sage green, cream, and dusty rose, this handmade decor piece looks stunning on a mantel, shelf, or dining table. Best of all, it is beginner-friendly and serves as a fantastic stash-buster for your leftover yarn scraps!
Materials & Tools Checklist
- Foam pumpkin foundation (Medium: approx. 20 cm wide x 16 cm tall; Large: approx. 25–30 cm wide)
- Super bulky or jumbo yarn in burnt orange, mustard yellow, sage green, warm cream, and dusty rose (approx. 80–150 meters total)
- Small natural wooden branch (approx. 8–10 cm long) for the stem
- Fabric-safe craft glue or low-temperature hot glue gun
- Rustic twine and felt fabric (mustard yellow and sage green)
- Yarn needle and sharp scissors
- Optional: Crochet hook for handmade leaf embellishments
Pattern Stitches & Abbreviations
- ch: Chain (yarn over and pull through the loop on the hook)
- sl st: Slip stitch (insert hook, yarn over, pull through stitch and loop)
- sc: Single crochet (insert hook, yarn over, pull up a loop, yarn over, pull through two loops)
- hdc: Half double crochet (yarn over, insert hook, pull up a loop, yarn over, pull through three loops)
- dc: Double crochet (yarn over, insert hook, pull up a loop, pull through two loops twice)
- tr: Treble crochet (yarn over twice, insert hook, pull up a loop, pull through two loops three times)
- st(s): Stitch(es)
- FO: Fasten off
Step-by-Step Instructions
- Prepare a clean, well-lit workspace and check your foam pumpkin foundation to ensure it is clean and ready for wrapping.
- Plan your color arrangement by grouping thick yarn strands in alternating sections of sage green, cream, burnt orange, mustard yellow, and dusty rose.
- Apply a small amount of fabric-safe craft glue to the top center near the original stem area of the foundation.
- Secure the starting end of your first yarn strand firmly against the top center, then pull the strand down vertically along the curve to the bottom center.
- Apply a dab of glue at the base to hold the yarn tightly in place, then wrap the strand back up the opposite side to recreate a natural pumpkin ridge.
- Continue wrapping adjacent strands closely together around the entire circumference of the foundation until the foam is completely hidden.
- Cut out optional autumn leaves from your mustard yellow and sage green felt, or crochet them using the US crochet stitches listed above.
Assembly & Finishing
Glue your natural wooden branch firmly into the top center hole as the stem, then tie a rustic twine bow around the base and attach your felt or crocheted leaves for a charming, professional finish.
Pro Tips for Best Results
- Test your hot glue on a hidden part of the foam foundation first to ensure the heat will not melt or damage the material.
- Pack your yarn strands closely together while wrapping to completely hide the foam base and create a plush, high-end look.
- Mix up the scale by making a large centerpiece pumpkin paired with two smaller ones for an eye-catching autumn display.
Crochet Style Yarn Pumpkin Autumn Decoration Pattern – Printable PDF Pattern
Download the clean, printer-friendly PDF to work on your project anywhere offline.