
Overview & Inspiration
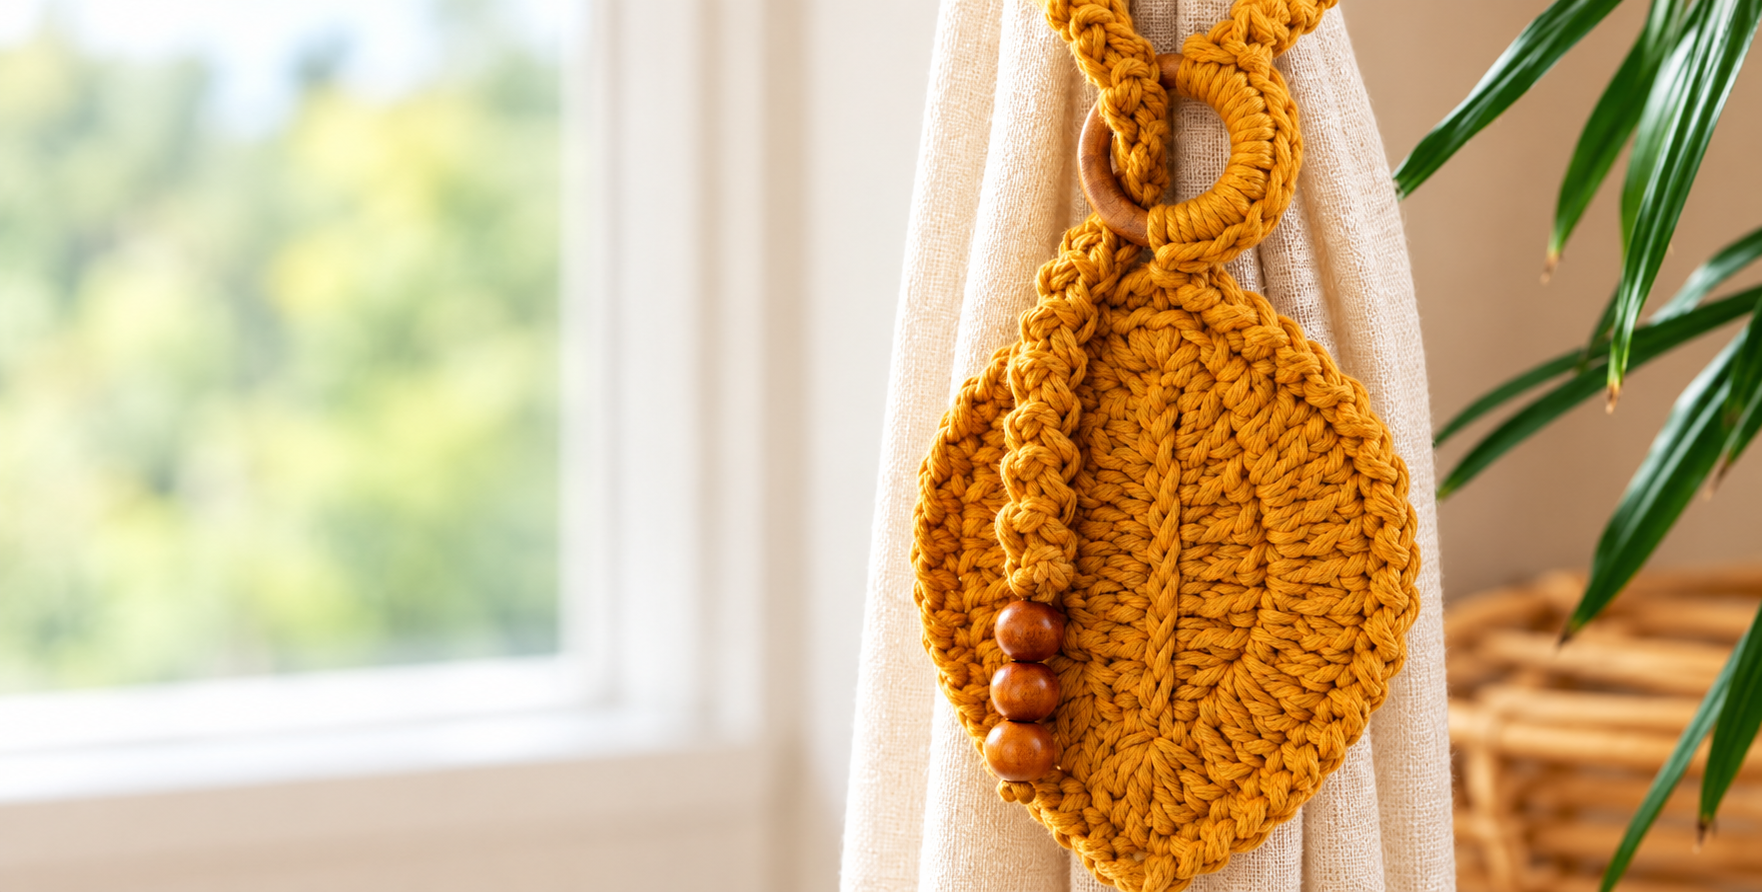
Transform your living space with this charming Crochet Curtain Tieback Pattern! Combining practical home décor with handmade warmth, this stylish piece gathers fabric neatly while adding gorgeous texture and a bohemian touch to any room.
Inspired by rich golden tones and natural wooden details, this versatile project works beautifully with rustic, farmhouse, or modern interiors. It makes a wonderfully quick and satisfying weekend make!
Materials & Tools Checklist
- Medium-weight cotton or cotton-blend yarn (70 to 120 meters)
- Crochet hook sized 4 mm to 5 mm
- Scissors and yarn needle
- Stitch markers
- Optional: Wooden beads or a wooden ring
Pattern Stitches & Abbreviations
- ch: chain
- sl st: slip stitch
- sc: single crochet
- hdc: half double crochet
- dc: double crochet
- Increase: work two stitches into the same stitch or space
Step-by-Step Instructions
- Round 1: Make magic ring, ch 3, work 11 dc into ring, pull ring closed, sl st into top of beginning ch-3 to join. Total: 12 dc. (Alternative: ch 4, sl st to form a ring).
- Round 2: Ch 3, dc in same st, 2 dc in each remaining st around, sl st to top of beginning ch-3. Total: 24 dc.
- Round 3: Ch 3, 2 dc in next st, *dc in next st, 2 dc in next st; repeat from * around, sl st to join. Total: 36 dc.
- Round 4: Ch 3, dc in next st, 2 dc in next st, *dc in next 2 sts, 2 dc in next st; repeat from * around, sl st to join. Total: ~48 dc.
- Round 5: Ch 1, sc in first st, *skip 1 st, 5 dc in next st, skip 1 st, sc in next st; repeat from * around, adjusting final repeat if necessary, sl st to first sc.
- Edging Round: Ch 1, sc evenly around, placing 1 sc in each regular st.
Assembly & Finishing
Securely fasten off all yarn tails using your yarn needle. Attach any optional wooden beads or a hanging loop firmly to complete your custom curtain tieback.
Pro Tips for Best Results
- Use 100% cotton yarn for crisp stitch definition and enough structural rigidity to hold your curtain’s shape.
- Check that your circle lies flat while working; if it bowls, your tension is too tight, and if it ripples, you have too many increases.
- Ensure any added wooden beads have large enough holes to comfortably thread your yarn or a secondary anchoring cord.