
Overview & Inspiration
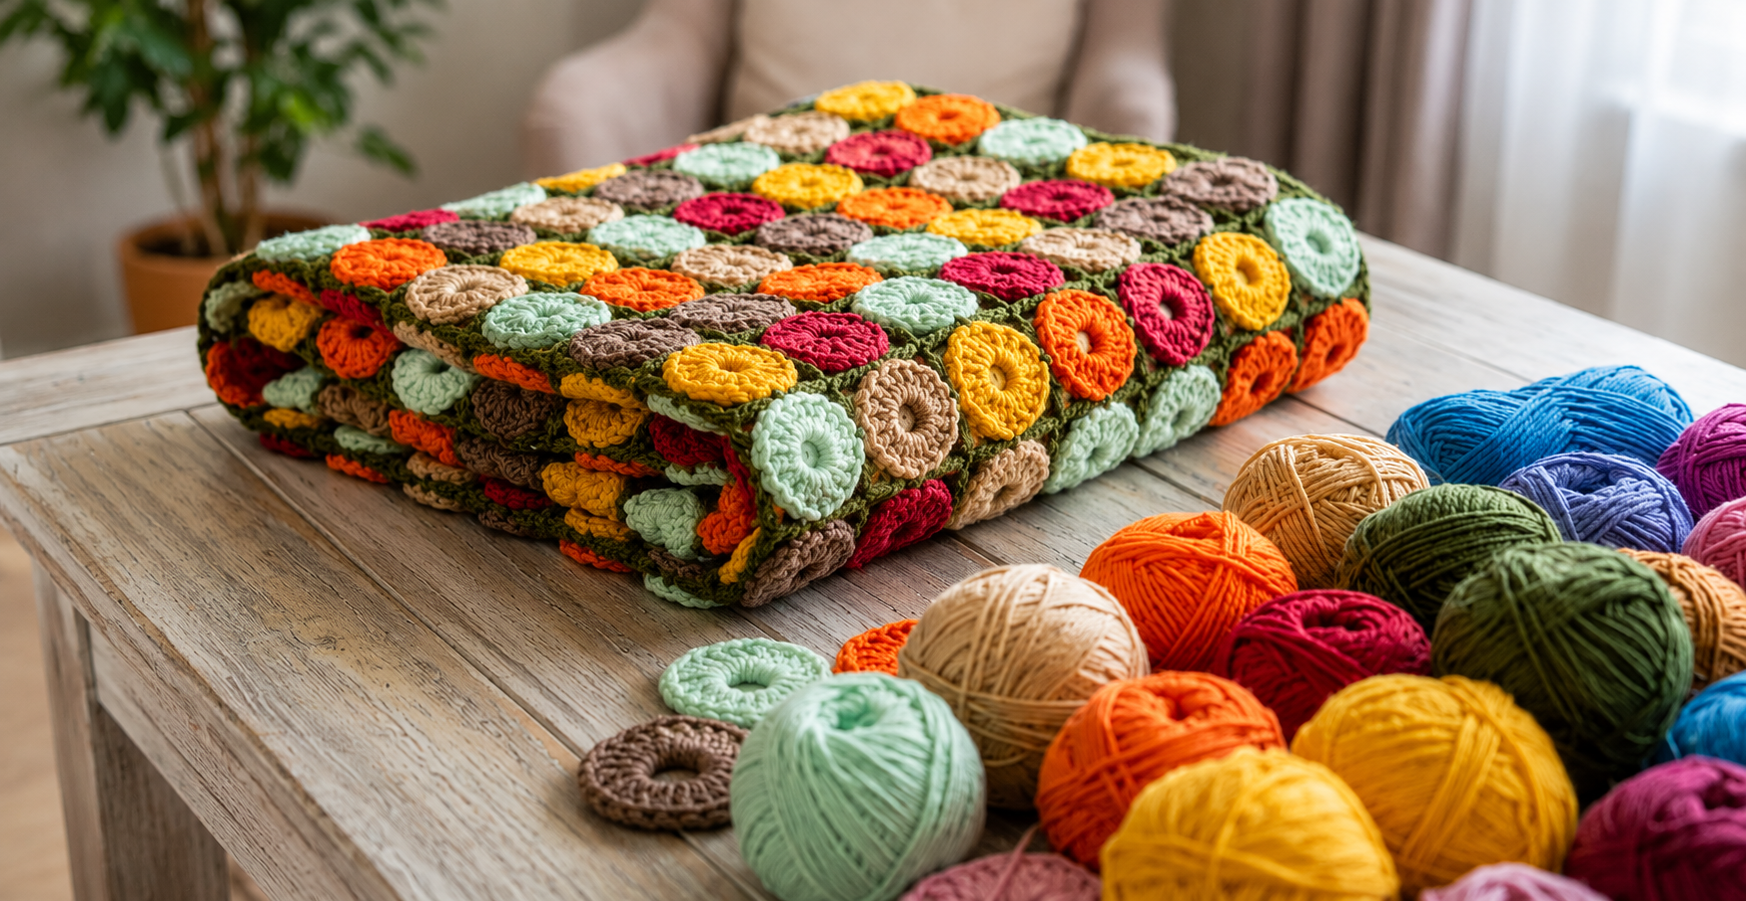
Brighten up any room with the Crochet blanket with colorful circles Pattern! This cheerful project combines vibrant, textured circular motifs with a dark green joining yarn that anchors the entire design.
Working on individual circles first makes this blanket completely portable and easy to manage. Plus, it is a fantastic stash-buster for experimenting with warm and refreshing color palettes!
Materials & Tools Checklist
- Medium-weight (worsted) yarn in assorted colors (approx. 1,200 to 1,800 grams total)
- Generous amount of olive or moss green yarn for joining and borders
- Crochet hook size 4 mm to 5.5 mm (adjust for tension)
- Tapestry needle for weaving in ends
- Scissors
Pattern Stitches & Abbreviations
- ch = chain
- sl st = slip stitch
- sc = single crochet
- hdc = half double crochet
- dc = double crochet
- st = stitch
- sp = space
- MR = magic ring
- inc = increase
- rep = repeat
Step-by-Step Instructions
- Circle Round 1: Make an MR with your chosen color. Chain 3, then work 11 dc into the magic ring (12 sts total). Pull the ring tight to close and join with a sl st to the top of the beginning chain.
- Circle Round 2: Chain 3, work 1 dc into the same stitch, then work 2 dc in each stitch around. Join with a sl st to finish the flat disc.
- Circle Round 3: Chain 3, then work 2 dc in the next stitch, following the pattern sequence for expansion.
Assembly & Finishing
Arrange your finished circles in a balanced color layout, then join them together using the darker green joining yarn. Finish the blanket by adding a neat matching border around the outer edges.
Pro Tips for Best Results
- Always crochet a complete test motif first to check your hook size, gauge, and overall tension.
- Stick to the same yarn weight across all motifs to ensure every circle maintains an identical diameter.
- Photograph your planned color sequence beforehand to prevent accidental clustering of similar shades.