
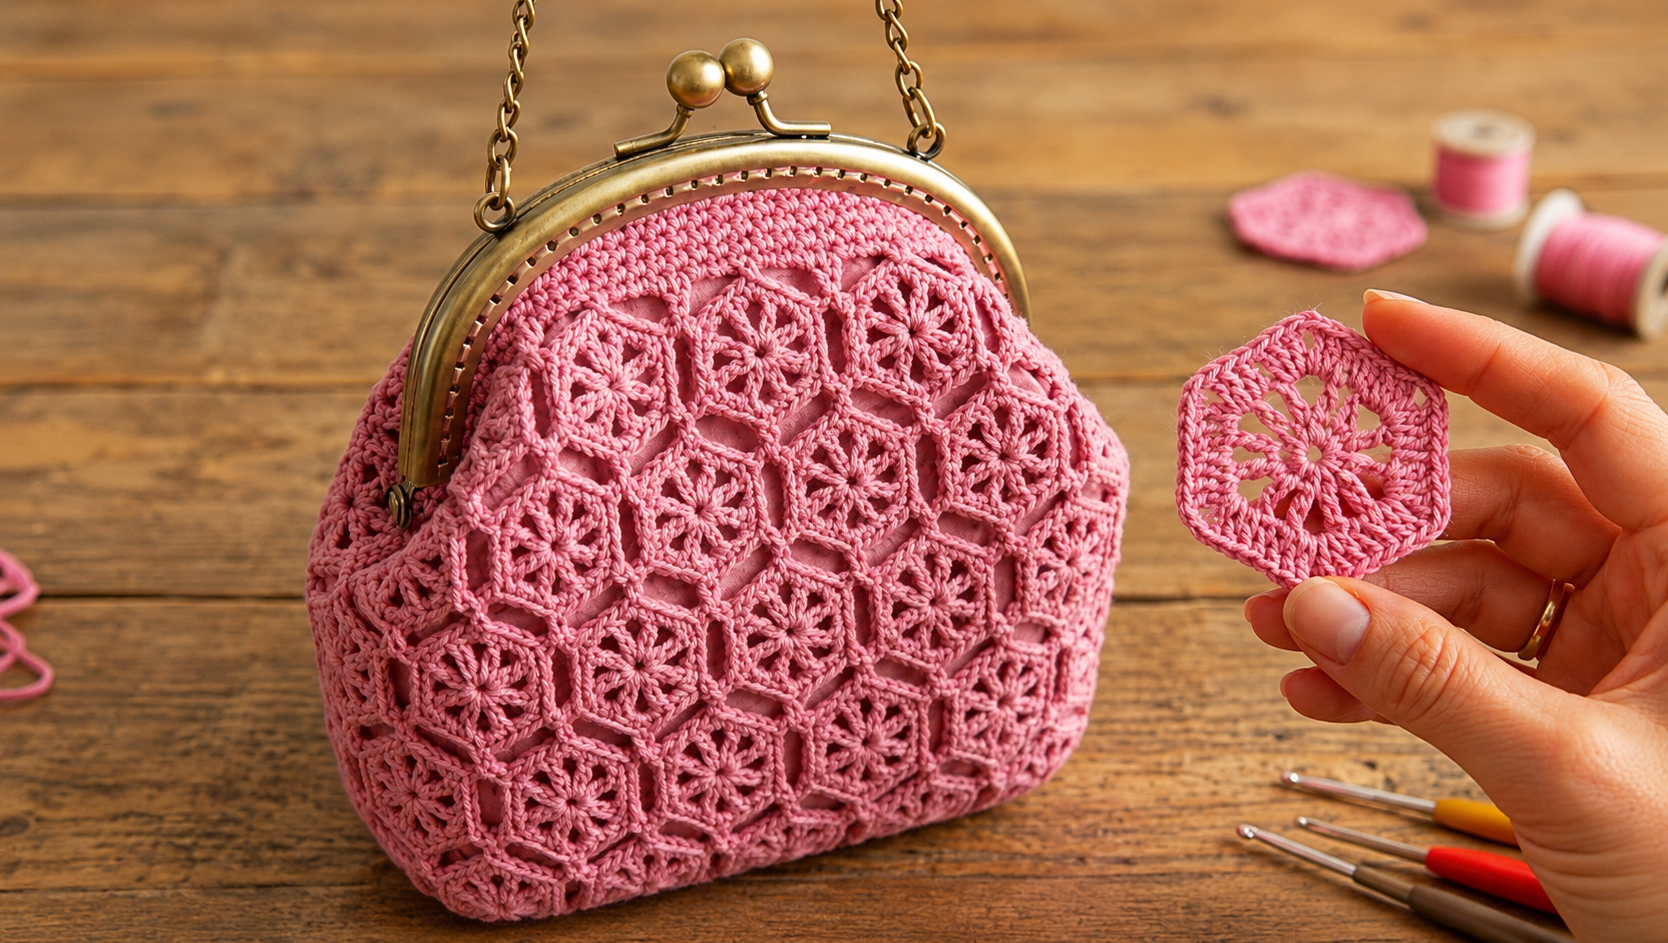
Overview & Inspiration
Welcome back to the FreeCrochet community! Today, we are exploring a stunning crochet bag with motifs pattern that combines traditional techniques with a practical, elegant accessory.
This project is built from floral motifs joined into a textured surface, then finished with a structured metal frame and chain handle. Because you make each piece separately, you can easily customize your bag’s size from a small evening clutch to a full-sized shoulder bag.
Materials & Tools Checklist
- Smooth cotton or cotton-blend yarn (lightweight works best for delicate florals)
- Crochet hook appropriate for your yarn choice
- Purse frame and optional metal chain handle
- Fabric for lining and sewing thread
- Yarn needle, scissors, and removable stitch markers
Pattern Stitches & Abbreviations
- ch: chain
- sl st: slip stitch
- sc: single crochet
- dc: double crochet
- sp: space
- st: stitch
- Clusters, spacing, motif joining, and edging
Step-by-Step Instructions
- Create the center flower: Start with a magic ring or 4 ch joined with a sl st. Ch 3 (counts as first dc), work dc stitches into the center ring to form the flower base, and join with a sl st.
- Form petal spaces: Ch 3-4, skip base stitches, and attach with a sl st or sc evenly around the circle to create loops for the petals.
- Work the petals: Work (sc, hdc, 3 dc, hdc, sc) into the same chain space. Repeat this petal sequence into each loop around to make 6 or 8 symmetrical petals.
- Square the motif: Work behind the petals to create outer framework chains. At the corners, work (3 dc, ch 2, 3 dc) to transform the circle into a square.
- Build the border: Work (3 dc, ch 1, 3 dc) along the sides to create a stable, lace-like border.
- Finish the motif: Work a strengthening round of sc around the outer edge with extra stitches in the corners, then fasten off and weave in tails.
Assembly & Finishing
Arrange your finished motifs on a flat surface, then join them using a slip stitch seam, a yarn needle whipstitch, or the join-as-you-go method. Create matching front and back panels, line the interior with fabric, and secure your completed panels to the metal purse frame.
Pro Tips for Best Results
- Crochet a test motif first, block it, and measure it to calculate how many motifs you need for your desired bag dimensions.
- Lay out all finished motifs on a flat surface before joining to check your color arrangement and prevent orientation mistakes.
- Gently block your completed front and back panels if needed to ensure they match perfectly before attaching them to the purse frame.