
Overview & Inspiration
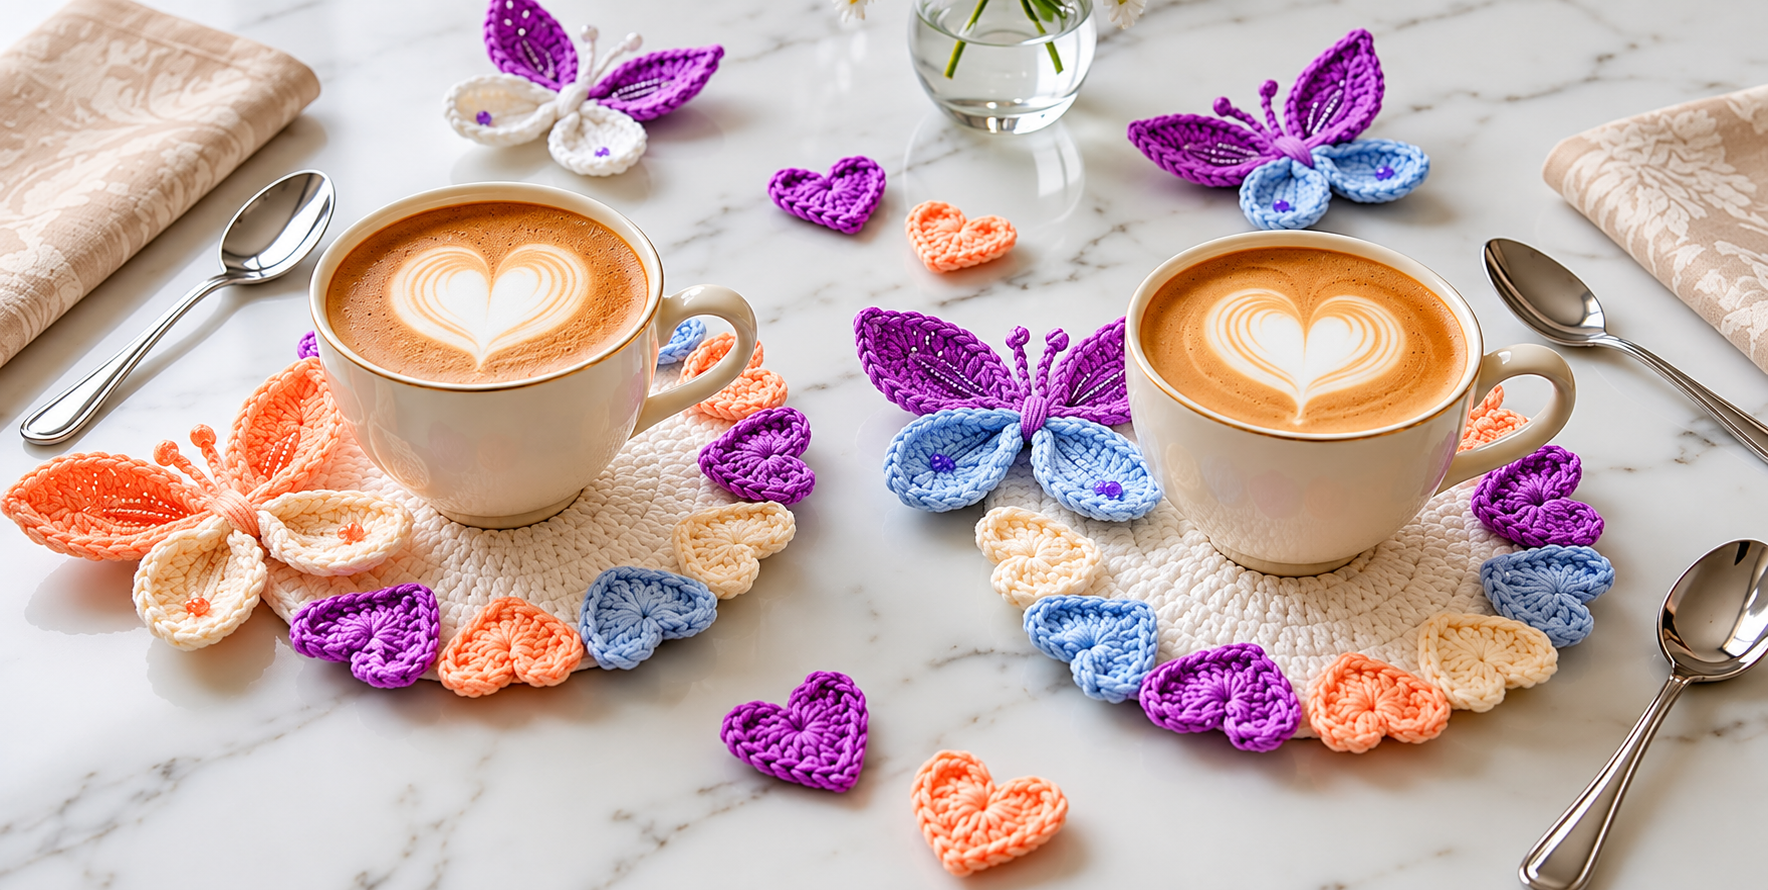
Welcome to the charming Crochet Heart, Butterflies, and Circles Pattern! This versatile project combines romantic hearts, playful butterflies, and practical circles into one delightful handmade collection.
Use your finished pieces as coasters, appliqués, garlands, or sweet gifts. It is a fantastic way to use up yarn scraps while practicing shaping and joining techniques in standard US terminology.
Materials & Tools Checklist
- Smooth DK or light worsted cotton yarn in multiple colors and a neutral base shade
- Crochet hook sized between 3.0 mm and 4.0 mm
- Yarn needle for weaving in ends
- Scissors
- Stitch markers and optional sewing pins for blocking
Pattern Stitches & Abbreviations
- ch = chain
- sl st = slip stitch
- sc = single crochet
- hdc = half double crochet
- dc = double crochet
- tr = treble crochet
- st / sts = stitch / stitches
- sp = space
- rep = repeat
- MR = magic ring
Step-by-Step Instructions
- Circle Round 1: Start with an MR. Work ch 2 (does not count as a st), 12 dc into the ring. Pull closed and sl st to the first dc.
- Circle Round 2: Ch 2, work 2 dc in each st around (24 dc). Join with a sl st.
- Circle Round 3: Ch 2, [1 dc in next st, 2 dc in following st] rep around (~36 sts).
- Circle Round 4: Ch 2, [1 dc in each of next 2 sts, 2 dc in following st] rep around. Add regular stitches between increases on later rounds for larger flat circles.
- Circle Edge: Finish with a round of sc (ch 1, 1 sc in each st around). Optionally repeat [sc, ch 2, sc] for a decorative picot edge.
- Small Heart: In an MR work ch 2, 3 tr, 3 dc, ch 1, 1 tr, ch 1, 3 dc, 3 tr, ch 2, sl st into ring. Pull closed and shape with your fingers.
- Large Heart Edging: Attach yarn near bottom point of a small heart. Work sc evenly up the first side, using 2 sc in curves, a sl st at the center indentation, and sc down the second side.
Assembly & Finishing
Position your finished hearts and butterflies evenly around the circular bases. Experiment with your layout before sewing them securely in place.
Pro Tips for Best Results
- Maintain relaxed, consistent tension so your hooks easily insert into small motifs.
- Weave in loose ends after finishing each individual component to keep your workspace tidy.
- Block your finished motifs to perfect their shapes and crisp edges.