
Overview & Inspiration
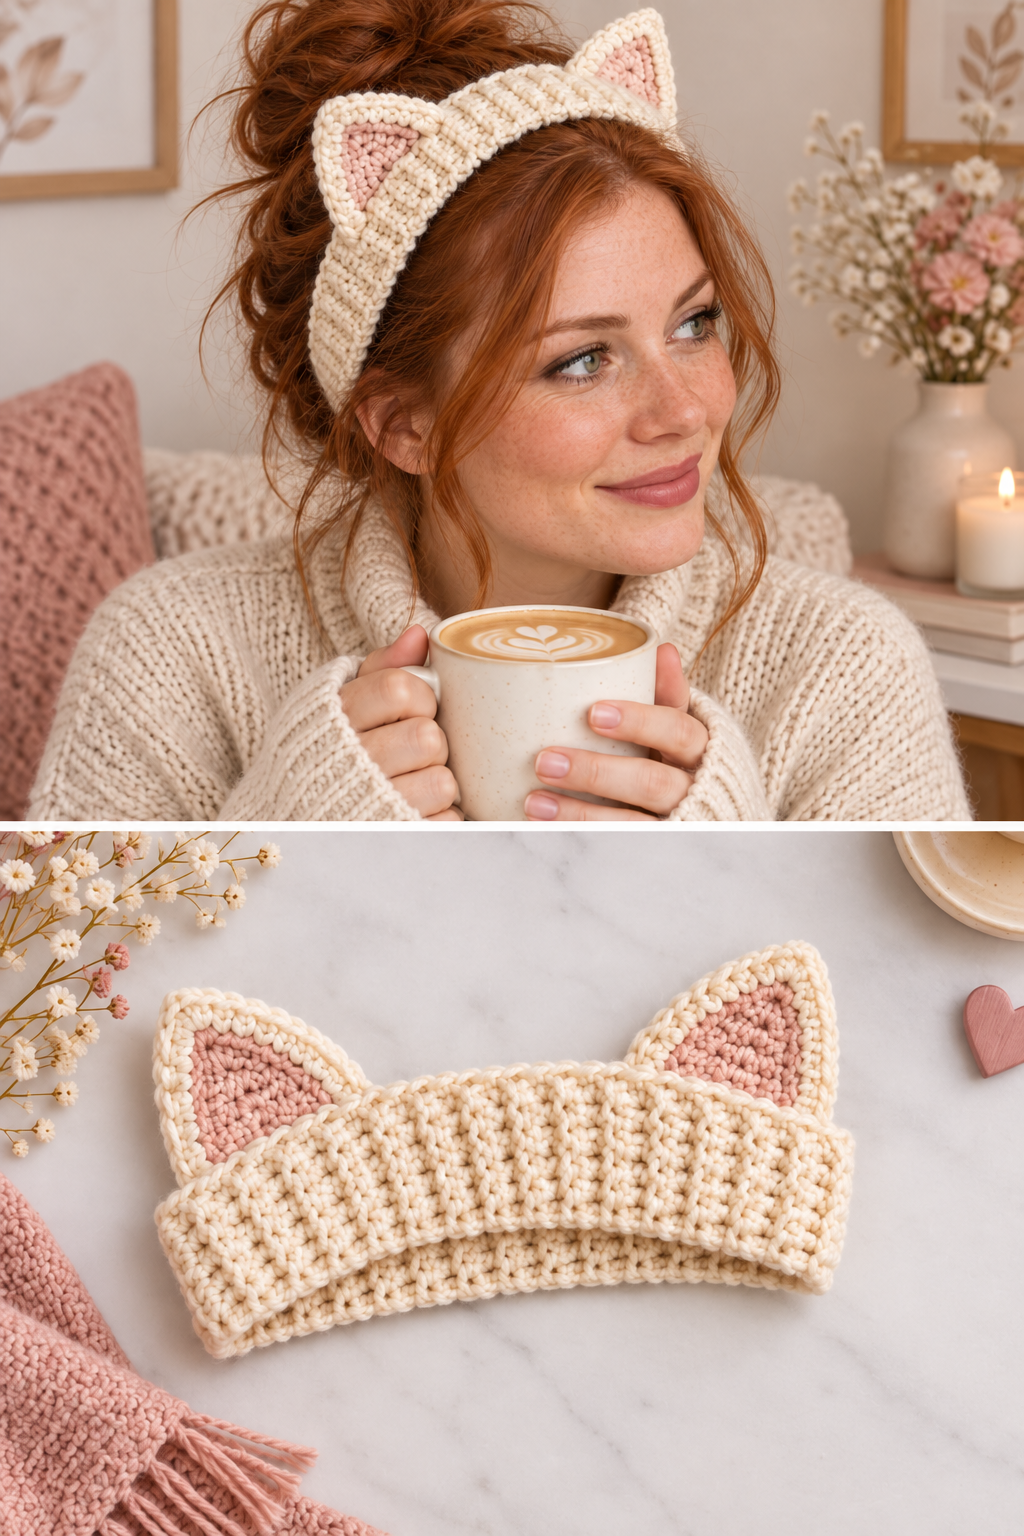
The Crochet Kitty Ears Headband is a charming, cozy accessory combining a warm ribbed band with playful cat-inspired details. Featuring a soft cream base and delicate pink inner-ear accents, it is a wonderful handmade project for seasonal fashion and fun everyday wear.
Using US crochet terminology and a beginner-friendly construction, this pattern guides you through measuring, stitching, and assembling your very own feline ear warmer. It makes an adorable, quick-to-make gift for cat lovers of all ages.
Materials & Tools Checklist
- 100–150 yards (90–137 meters) of worsted-weight yarn in cream or ivory
- 20–30 yards (18–27 meters) of soft pink yarn
- 4.5 mm crochet hook
- 4.0 mm crochet hook (optional for ear details)
- Yarn needle and scissors
- Measuring tape, stitch markers, and sewing pins or clips
- Optional lightweight fabric interfacing for added ear stability
Pattern Stitches & Abbreviations
- ch: Chain
- sc: Single crochet
- hdc: Half double crochet
- dc: Double crochet
- sl st: Slip stitch
- BLO: Back loop only
- dec: Single crochet decrease
- st: Stitch
- rep: Repeat
- FO: Fasten off
Step-by-Step Instructions
- Foundation Chain: Using cream yarn and a 4.5 mm hook, ch 17. Work 1 hdc in the 2nd ch from hook and in each rem ch across (16 st). Ch 1, turn.
- Ribbed Texture: Work 1 hdc BLO in each st across (16 st). Ch 1, turn. Rep this row until the strip reaches your desired head circumference (approx. 19–21 inches for adults).
- Join Band: Fold the strip to align short ends. Join with a sl st seam across both edges. FO, leaving a tail, and turn the headband so the seam is inside.
- Edge Finishing: Attach cream yarn to one long edge and work 1 sc evenly around. Sl st to join, FO, and rep on the opposite edge. Avoid working too tightly to preserve stretch.
Assembly & Finishing
Crochet two cream triangular ear bases and two smaller pink inner-ear appliqués. Sew the pink centers securely onto the front of each cream ear, then position and stitch the finished ears firmly onto the upper edge of your headband.
Pro Tips for Best Results
- Ensure your headband has slight negative ease so it fits securely without stretching out the stitches.
- Use stitch markers to hold the ears in place on the headband before sewing to guarantee perfect symmetry.
- Insert lightweight fabric interfacing between the ear panels if you want your kitty ears to stand up extra stiff and straight.