
Overview & Inspiration
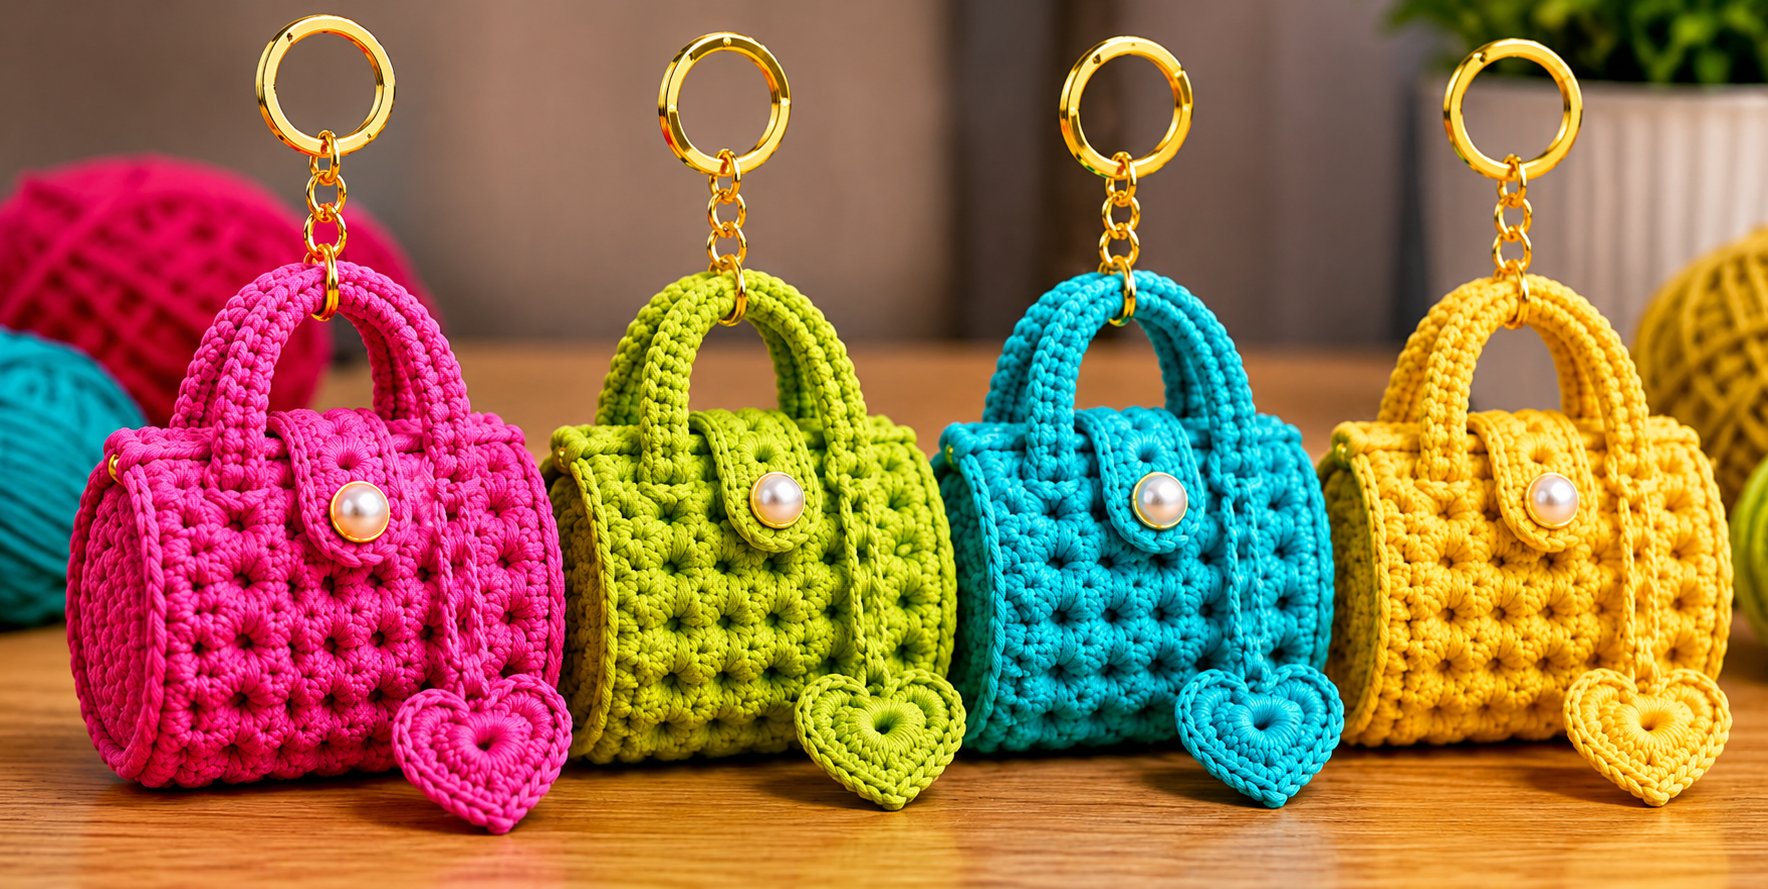
Welcome back to the FreeCrochet community! Today, we are sharing a charming Crochet Mini Bag Keychain Pattern that combines basic techniques with a polished handmade finish.
This adorable 7 to 8 cm accessory is a fantastic stash-buster for leftover yarn. Customize it with buttons or charms to use as a keychain, purse charm, or thoughtful handmade gift!
Materials & Tools Checklist
- 15 to 25 grams of main yarn (cotton yarn for stitch definition, or soft polyester cord for a firmer structure)
- Crochet hook sized 2.5 mm to 3.5 mm
- Tapestry needle and scissors
- Stitch markers
- Small decorative pearl or button
- Metal keychain ring with a short chain
- Optional: Small amount of stuffing or felt for extra firmness
Pattern Stitches & Abbreviations
- ch = chain
- sl st = slip stitch
- sc = single crochet
- hdc = half double crochet
- dc = double crochet
- st / sts = stitch / stitches
- sp = space
- inc = increase
- dec = decrease
- FO = fasten off
- rep = repeat
Step-by-Step Instructions
- Bag Body: Ch 15 (approx. 7 cm). Starting in 2nd ch from hook, work 1 sc in each ch across (approx. 14 sts). Ch 1, turn and work another sc row.
- Textured Panel: For row 3, ch 1, work a small puff or textured cluster into the first appropriate st, secure with an sc in the following st, rep across. (Beginners may work entirely in sc). Continue until rectangle measures 5 to 6 cm high, then FO. Make a second identical rectangle.
- Side & Bottom Strip: Chain enough to reach a width of 2.5 to 3 cm. Crochet back and forth in sc until the strip is long enough to travel from one upper corner, around the bottom, and up to the opposite upper corner.
- Assembly: Position the narrow strip against the first body panel, aligning edges. Work sl st or sc through both layers around the first side, bottom, and second side, then repeat for the other panel.
- Finishing: Crochet the handles, prepare a closure flap, sew on your decorative pearl or button, and securely attach the metal key ring.
Assembly & Finishing
Join your rectangular panels to the gusset strip using single crochet or slip stitches, weave in all loose ends securely, and attach your closure flap and hardware.
Pro Tips for Best Results
- Make a quick 10-15 stitch test swatch first to ensure your fabric is dense and firm without large gaps.
- Place stitch markers in the first and last stitches of your rows to prevent accidental increases and keep your sides straight.
- Keep your foundation chains relaxed and consistent to avoid curling or distorting the base of your mini bag.