
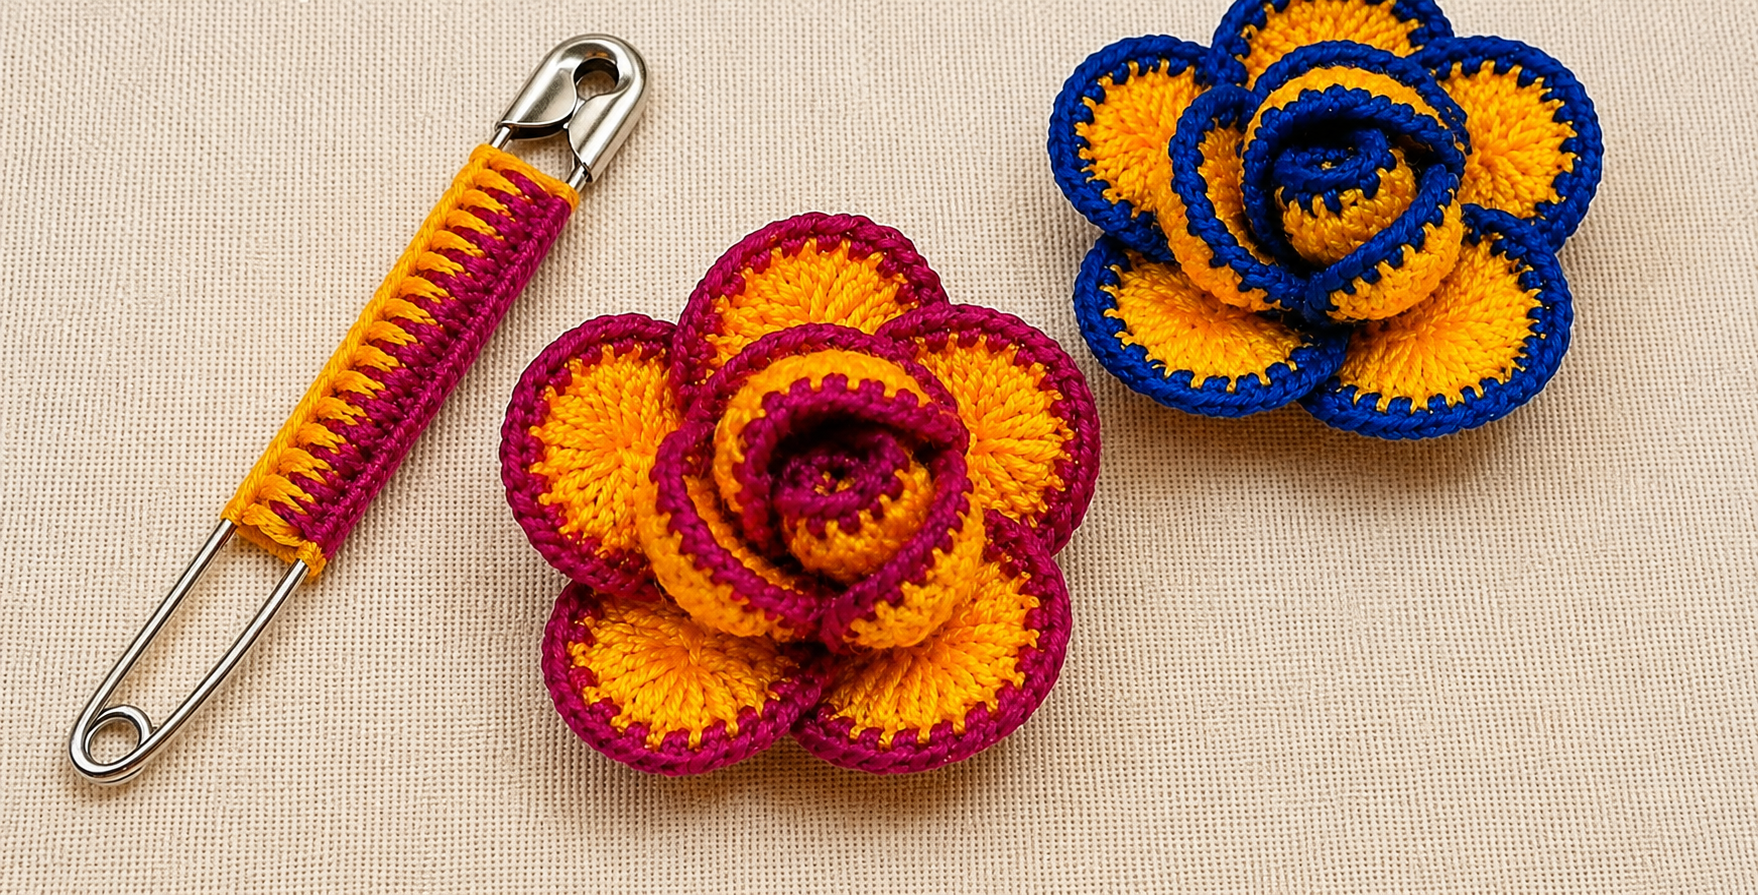
Overview & Inspiration
Welcome back to the FreeCrochet community! Today we are exploring a charming dimensional project inspired by embroidered needlework, perfect for adding a pop of texture to any handmade item.
This pattern builds a vibrant, layered bloom from the center outward by combining basic crochet stitches and height variations. You can easily adapt your finished flower for brooches, appliqués, bags, cushions, keychains, or gifts.
Materials & Tools Checklist
- Cotton yarn or embroidery thread in two contrasting colors
- Appropriate crochet hook (medium-weight cotton for firm petals, or thinner thread for delicate designs)
- Scissors and a yarn needle
- Stitch markers
- Optional felt for the back of the finished flower
Pattern Stitches & Abbreviations
- MR: Magic Ring
- ch: chain stitch
- sl st: slip stitch
- sc: single crochet
- hdc: half double crochet
- dc: double crochet
- tr: treble crochet
- inc: increase
- rep: repeat
Step-by-Step Instructions
- Center: Begin with a Magic Ring (MR) using your main color. Work 6 sc into the ring, pull the tail to close tightly, and join with a sl st (or ch 4 and join into a circle as an alternative).
- Round 2 (Increases): Work 2 sc in each stitch around for a total of 12 stitches. Check your count to ensure proper spacing for the upcoming petals.
- First Petal Layer: Begin the first layer by repeating [sl st, ch 2, 3 dc, ch 2, sl st] in the next stitch or space around the center until you have 5 or 6 small petals. Keep your stitches relaxed for a soft texture.
Assembly & Finishing
Weave in all loose ends securely with your yarn needle and optionally attach a small circle of felt to the back for added stability when using your flower on garments or accessories.
Pro Tips for Best Results
- Keep your chain stitches loose and even so the flower foundation doesn’t curl too strongly.
- Maintain consistent tension when adding a contrasting border color to prevent petal distortion.
- Mark the first stitch of each round to avoid counting mistakes during the shaping process.