
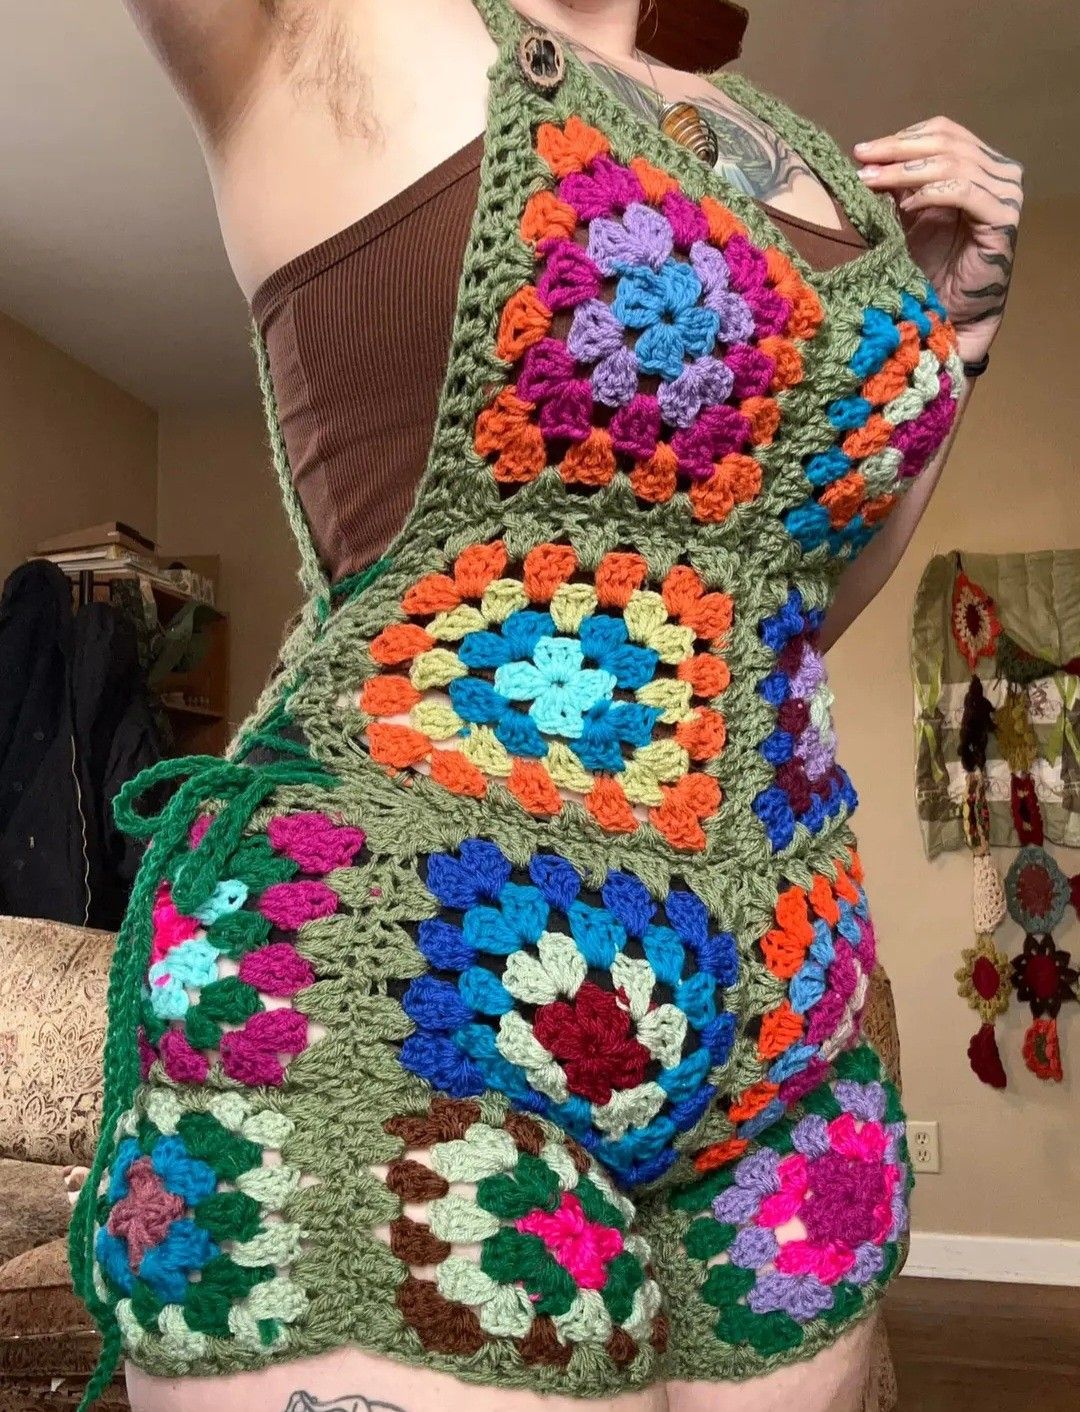
Overview & Inspiration
Get ready to combine timeless charm with modern fashion! This creative tutorial transforms simple crochet motifs into a stunning, wearable garment bursting with personality.
Whether you mix vibrant colors or keep it minimalist with neutral tones, this project gives you full creative freedom to design a truly unique handmade piece.
Materials & Tools Checklist
- Cotton yarn (recommended for breathability) or acrylic yarn for a softer finish
- Crochet hook that matches your yarn weight
- Scissors and a yarn needle for weaving ends and assembly
- Stitch markers to track your rounds
- Measuring tape to ensure proper fit
Pattern Stitches & Abbreviations
- Magic ring or chain loop for starting squares
- Double crochet (dc) stitches for body of squares
- Chain (ch) spaces for corners and edges
- Slip stitch (sl st) or single crochet (sc) for joining panels
Step-by-Step Instructions
- Gather Materials: Select your preferred yarn weight, matching hook, measuring tape, and notions for a smooth workflow.
- Crochet Granny Squares: Start with a magic ring or chain loop. Work in rounds using double crochet stitches and chain spaces. Maintain consistent size and block all squares before assembly.
- Assemble the Overalls: Lay out your squares to plan the design. Join them using slip stitches, single crochet, or a sewing method to form separate front, back, and side panels, then connect them into the main structure.
- Add Straps and Neckline: Create and attach straps, shaping the neckline to fit your preferred style.
Assembly & Finishing
Securely weave in all loose ends to prevent unraveling. Add clean edging around the neckline, armholes, and legs, and personalize your piece with custom buttons or pockets.
Pro Tips for Best Results
- Block all of your granny squares uniformly before joining to ensure a smooth, even assembly.
- Use cotton yarn for the ultimate breathable, comfortable everyday wearable fit.
- Try adding fun details like custom pockets or decorative buttons to make the overalls uniquely yours.