
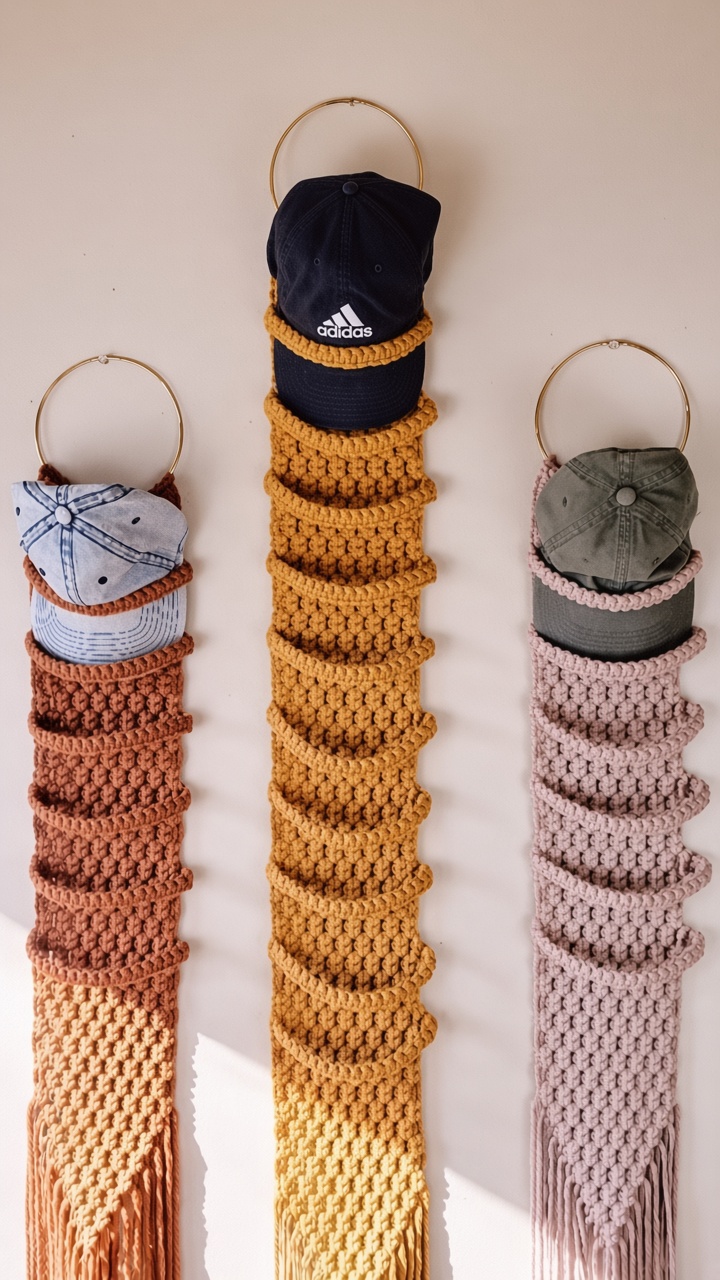
Overview & Inspiration
Welcome back to the FreeCrochet community! Today, we are sharing a stylish, practical hanging hat organizer designed to neatly store your favorite baseball caps. Featuring beautiful textured ridges, horizontal support straps, and cozy fringe, this piece doubles as functional storage and eye-catching bohemian wall decor.
Perfect for entryways, closets, or bedrooms, this beginner-friendly project keeps your caps accessible without crushing their shape. Work it up in warm, vintage-inspired tones like terracotta, mustard, or dusty pink to add a rustic charm to any room.
Materials & Tools Checklist
- Yarn: 350–500 yards (320–460 m) worsted-weight cotton or cotton-blend yarn
- Hook: 4.5 mm crochet hook (or size needed for a firm fabric)
- Hardware: Sturdy wooden dowel or metal hanging ring
- Notions: Yarn needle, scissors, measuring tape, and stitch markers
Pattern Stitches & Abbreviations
- ch: Chain
- sc: Single crochet
- hdc: Half double crochet
- sl st: Slip stitch
- BLO: Back loop only
- FPdc: Front post double crochet
Step-by-Step Instructions
- Foundation Chain: Ch 21 using your 4.5 mm hook. Row 1: Work 1 hdc in the 3rd ch from hook and in each remaining ch across. Ch 2, turn. (19 hdc)
- Textured Panel: Row 2: Work 1 hdc in each st across. Ch 2, turn. (19 hdc). To create horizontal ridges, alternate standard hdc rows with BLO hdc rows. Continue repeating until the panel measures approximately 35 inches (89 cm) long.
- Reinforced Border: Do not fasten off. Ch 1, work sc evenly down the first long edge, work 3 sc in the corner, sc across the bottom edge, 3 sc in the next corner, sc up the second long edge, and sc across the top. Join with a sl st to finish.
- Mark Band Positions: Lay the panel flat right-side up. Using stitch markers, identify 6 evenly spaced positions along the side edges. Place the top band 3 inches below the top edge and space remaining bands approximately 5 inches apart.
- Crochet Support Bands: Attach yarn at a marked position, ch 21 (or length matching panel width), and join across to the opposite marker with a sl st. Work 1 sc in each ch across to create a firm strap. Repeat for all 6 marked locations.
Assembly & Finishing
Fold the top edge of your panel over the wooden dowel or metal ring and secure it firmly using single crochet stitches or a yarn needle. Cut 10–12 inch strands of yarn, fold them in half, and attach them across the bottom edge using larks head knots to create a 5–6 inch fringe. Gently steam block the organizer flat if needed so it hangs perfectly straight on your wall.
Pro Tips for Best Results
- Choose 100% Cotton: Cotton yarn provides stiffness and durability, preventing the organizer from stretching out over time under the weight of the caps.
- Maintain Firm Tension: Keep your stitches tight to ensure the panel remains structural and supportive.
- Customize the Length: Adjust the height easily by adding or subtracting 5-inch vertical sections and corresponding support bands.