
Overview & Inspiration
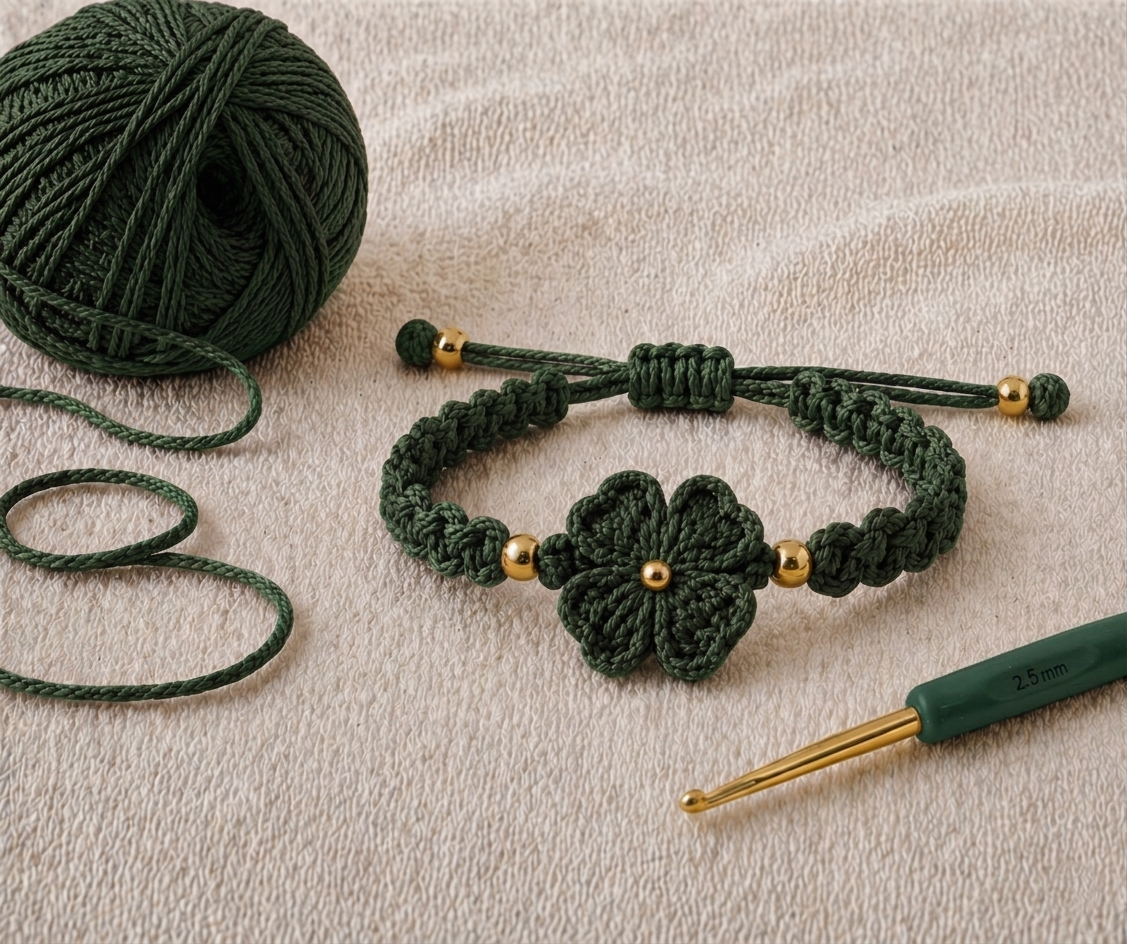
The Crochet Bracelet with Pearls Pattern is a stunning vintage-inspired jewelry project. It pairs a rich forest green textured band with a charming five-petal flower and golden beads.
This quick project uses leftover cotton thread to create a romantic, adjustable accessory that fits wrists from 6 to 8 inches.
Materials & Tools Checklist
- 15–25 yards (14–23 m) of size 3 crochet cotton or fine braided cord (forest green recommended)
- One 2.5 mm crochet hook
- Two decorative beads (5–6 mm) and one small center bead (3–4 mm)
- Two optional beads for adjustable cord ends
- Tapestry needle, small sharp scissors, and a measuring tape
- Stitch markers and fabric-safe jewelry adhesive
Pattern Stitches & Abbreviations
- ch: Chain
- sl st: Slip Stitch
- sc: Single Crochet
- hdc: Half Double Crochet
- dc: Double Crochet
- tr: Treble Crochet
- st / sts: Stitch / Stitches
- sp: Space | rep: Repeat | FO: Fasten Off | MR: Magic Ring
Step-by-Step Instructions
- Measure the Wrist: Wrap a tape measure comfortably around your wrist to aim for a 5½–6½ inch decorative band length.
- Begin the Band: Make a slip knot, ch 4, then work 1 sc in the 2nd ch from hook and each rem ch (3 sc). Ch 1, turn.
- Textured Rows (Row 2): Work 1 sc into the back loop only of each st. Ch 1, turn. Repeat this row until the band reaches the desired length, then FO leaving a long tail.
- Flower Center: Using the MR technique, work 10 sc into the ring. Pull closed and join with a sl st to the first sc.
- Create Petals: Ch 2, work 3 dc into the next st, ch 2, and sl st into the following st to form the first petal. Repeat around to make all five petals, adding the small 3–4 mm bead to the center.
Assembly & Finishing
Securely stitch your five-petal flower to the center of the bracelet band. Attach the 5–6 mm decorative beads alongside the floral centerpiece, weave in all loose ends with a tapestry needle, and construct your adjustable sliding closure to finish the piece.
Pro Tips for Best Results
- Make a quick test chain beforehand to check your cord’s thickness and flexibility.
- Maintain an even tension throughout the back-loop sc rows to keep edges straight.
- Choose smooth beads with holes wide enough to accommodate your cotton cord or sewing thread easily.